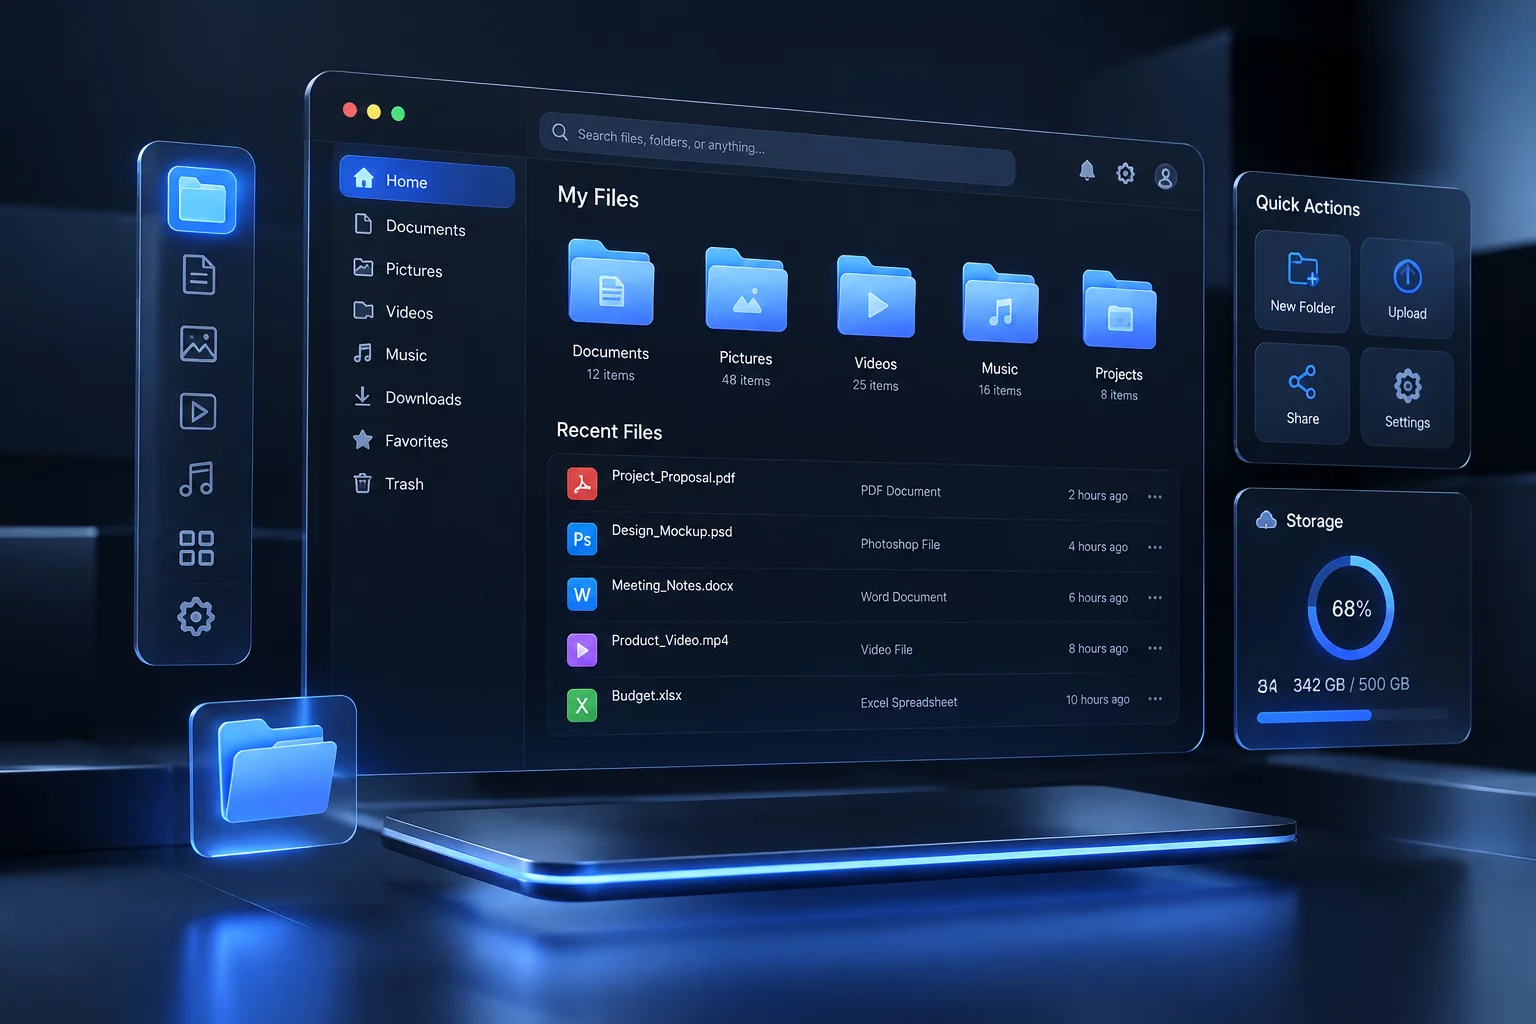
Overview & Workflow Architecture
Best practices for organizing your digital workspace. Maintaining an organized digital workspace is crucial when coordinating complex multi-room architectural models. Setting up systematic naming conventions, modular asset directories, and clean viewport configurations prevents performance bottlenecks and eliminates workflow friction during long-term residential design projects.
Key Architectural Principle
Establish standardized layer structures and hierarchical grouping before importing detailed 3D furniture meshes or computing high-resolution spatial lighting passes.
Detailed Step-by-Step Implementation
A cluttered workspace slows down viewport rendering and creates confusion when revising floor plans. By establishing a logical directory structure on your primary design workstation, you keep external material libraries, custom texture maps, and IFC component definitions synchronized without broken file pathways. Grouping architectural elements like load-bearing walls, internal partitions, electrical fittings, and decorative props into dedicated outliner collections keeps the viewport responsive.
We recommend creating reusable project starter templates containing pre-configured camera viewpoints, default measurement snap grids, and standardized room tagging systems. When starting a new residential design, load this foundational template to immediately begin sketching without manually restructuring layers, saving significant preparation time across your studio pipeline.
Core Guidelines
- Standardize component naming with functional prefixes like ARCH_Wall, INT_Furniture, and ELEC_Light.
- Purge unused textures, orphan meshes, and cached calculation data weekly to maintain compact project archives.
- Separate high-polygon interior fixtures into proxy assets to keep realtime navigation at 60 FPS.
- Configure auto-save snapshots to automated local redundant storage every 15 minutes.
Workspace hygiene directly correlates with rendering efficiency. Keep your asset folder structure nested logically by project stage (Concept, Modeling, Texturing, Final Render). Keep geometry clean and decouple dense furnishing assets into reference links.
Recommended display settings: Set default unit grid to Millimeters (metric) or Inches (imperial), enable backface culling in dense scenes, limit viewport undo memory buffer to 64 states, and configure auto-backup directories on high-speed NVMe drives.
Q: How do I recover misplaced texture maps? A: Utilize the software centralized Asset Relinker tool to scan root project folders and reassign missing texture paths automatically in one click.
Open your target project, launch the Batch Hierarchy Manager from the workspace settings panel, and map existing loose objects into predefined architectural layer groups.
For smooth multi-layer spatial viewport navigation, we recommend at least 16GB RAM, an 8-core CPU, and a dedicated GPU with minimum 6GB VRAM running current graphics drivers.
Community Discussion
Share insights with architectural modelersNo comments yet. Be the first to share your thoughts!
Leave a Comment or Question