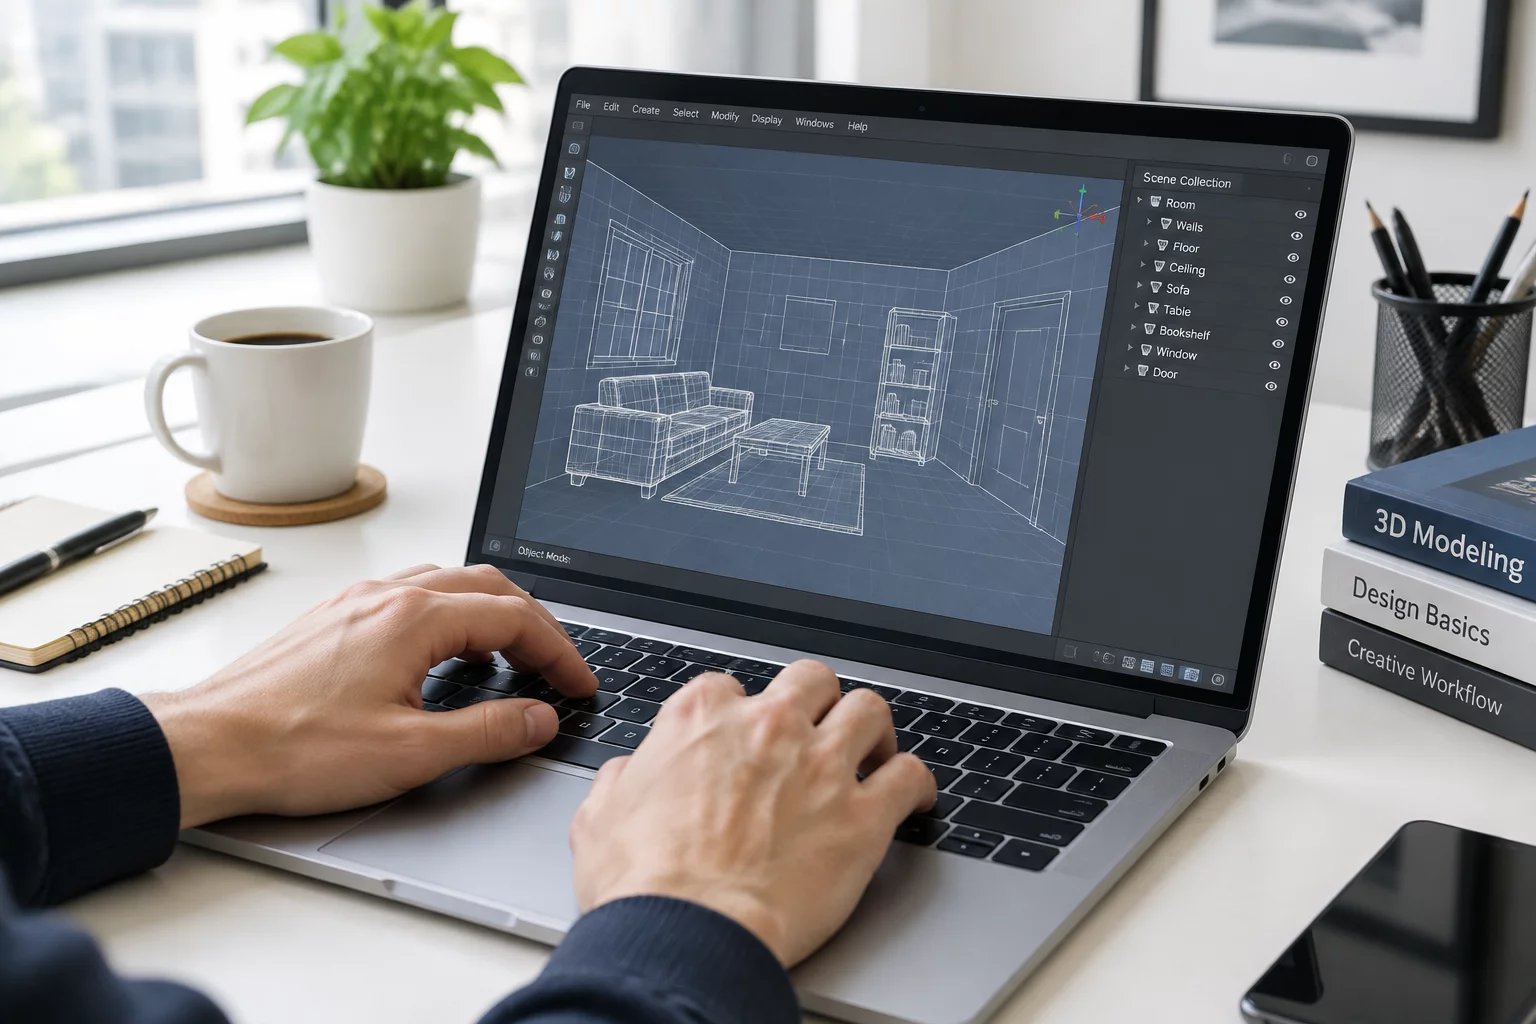
Overview & Workflow Architecture
Beginner guide to 3D home modeling. Discover how simple coordinate geometry, wall extrusion tools, and layered component management create professional interior structures quickly and reliably.
Key Architectural Principle
Always lock your foundational perimeter and structural wall axis before placing interior fixtures or decorative assets. Clean boundaries prevent geometry overlapping and ensure accurate light mapping during rendering.
Detailed Step-by-Step Implementation
Start by establishing standard unit dimensions in your workspace preferences. Import your hand-drawn sketch or 2D floor blueprint into the viewport, align the scaling factor to exact millimeter measurements, and trace perimeter walls using the automated contour pen.
Once the wall geometry extrudes upward, insert openings for windows and doors using snap-to-edge constraints. Assign default structural materials to separate load-bearing partitions from interior drywalls, creating a solid base for advanced lighting setups and texture mapping.
Core Guidelines
- Calibrate canvas scale and metric units prior to starting any vector outline.
- Organize structural walls, openings, and furniture into separate isolated layers.
- Verify surface face orientations to prevent flipped normal artifacts during rendering.
- Utilize snap-to-grid controls to maintain tight wall corner intersections without gaps.
Building spatial models requires structured layer discipline. By breaking down rooms into clean modular components, you streamline scene optimization, decrease viewport rendering latency, and make future client revisions effortless.
Recommended viewport settings: Enable Hardware Acceleration in Preferences > Display, set Grid Snapping to 50mm increments, turn on Auto-Save every 10 minutes, and enable Backface Culling for smooth real-time navigation.
How can I fix inverted wall faces? Select the affected polygon in edit mode, right-click, and choose 'Flip Normals'. Always confirm that exterior wall faces point outwards before applying PBR textures.
Import your legacy model, open the Layer Organizer, and group unassigned meshes into structural categories. Run the Mesh Clean tool to resolve duplicate vertices and align surface normals automatically.
For real-time 3D viewport performance, a multi-core processor with at least 8 GB of RAM and a dedicated graphics card with 4 GB VRAM supporting OpenGL 4.2 or higher is recommended.
Community Discussion
Share insights with architectural modelersAlex P.
Junior DesignerVery helpful for a beginner like me. The explanation of wall extrusion and coordinate snapping saved me hours of trial and error.
David L.
3D EnthusiastLooking forward to part 2! Will you cover multi-floor staircase alignments and light baking in the next article?
Leave a Comment or Question